How to start a promotion campaign
Promoting your app is very easy and can be done with the following steps.
1. Create a user account
First, create a user account. Make sure to stay logged in for the next steps.
2. Claim your apps and developer account
Find your app through the search bar at the top of the page or through AppBrain’s Android statistics portal page.
On your App Intelligence page, click the “I’m the developer of this app” button. We will then send a confirmation email to the developer email address. When you click the validation link in the email, your user account and developer account will be connected.

3. Create your campaign
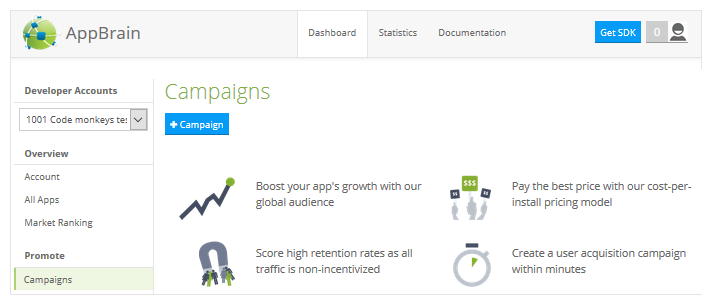
Go to your dashboard and click on the “Campaigns” menu item. Then click on the “+ Campaign” button.

You will have to choose one of your apps to start the promotion. Once you have done this, you will get a campaign setup that contains the following elements.
Campaign name: This name is only visible to you. You can create as many campaigns as you want for each app, so give it a name you can recognize.
Average CPI bid: This value is an average that you will bid in all countries. You might want to set this for all selected countries, but you can also define the CPI bid per country.
Country targeting: Here you have to choose between all countries or selected countries. When you use selected countries, you can also define the CPI bid per country. If you select “all countries” you also need to set an average CPI bid.
Daily limit: You can set a daily limit for this particular campaign. We will try to estimate the number of impressions and clicks needed to reach this limit. The campaign will pause once the daily limit is reached and is started again on the following day.
Campaign limit: You can also set a campaign limit. This is the total amount of money you want to spend on this campaign. This value decreases as the campaign generates installs. When it becomes zero, the campaign will stop automatically.
Campaign state: Make sure to set this to “active” to start the campaign immediately after you save it.
Title, subtitle and language: These fields are the promotional texts that will show up in the ads. Make sure to set the language of the campaign titles correctly. You can always add titles and any other language for the same campaign once you have saved the campaign by going to the “Titles” tab.
Allow AppBrain to optimize titles and subtitles: With this feature, you will permit AppBrain to automatically optimize titles and subtitles to improve the conversion rate of the campaign. This feature includes actions to change the languages of titles, download additional titles from Google Play and deactivate bad performing titles.
Once you have completed your setup, click the “Save” button. If you have any budget on your account, the campaign will start running within the next 10 minutes.
4. Payment
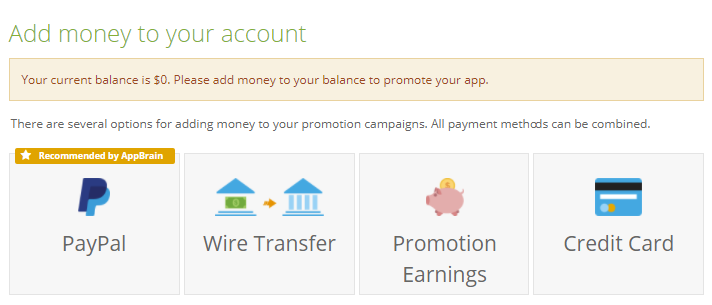
If you have no promotion budget yet, you should add some money to your account. Go to “Add Money” and use either PayPal, wire transfer or a credit card to add some money to your account.

When you choose a credit card, we will validate this credit card by reserving an amount of $100. If this is successful, we will immediately void this transaction and start your campaign.
A wire transfer will typically take a couple of days. Once we have assigned the funding to your account, the campaign will start to run automatically if you have set the campaign to active.

